In a previous post, I talked about the concept of Draw Your Own Platformer and who it was built for. Now, let’s delve into the technology behind the game, I will talk about both its hardware and software components. While I will provide a high-level overview, feel free to reach out for more detailed insights.
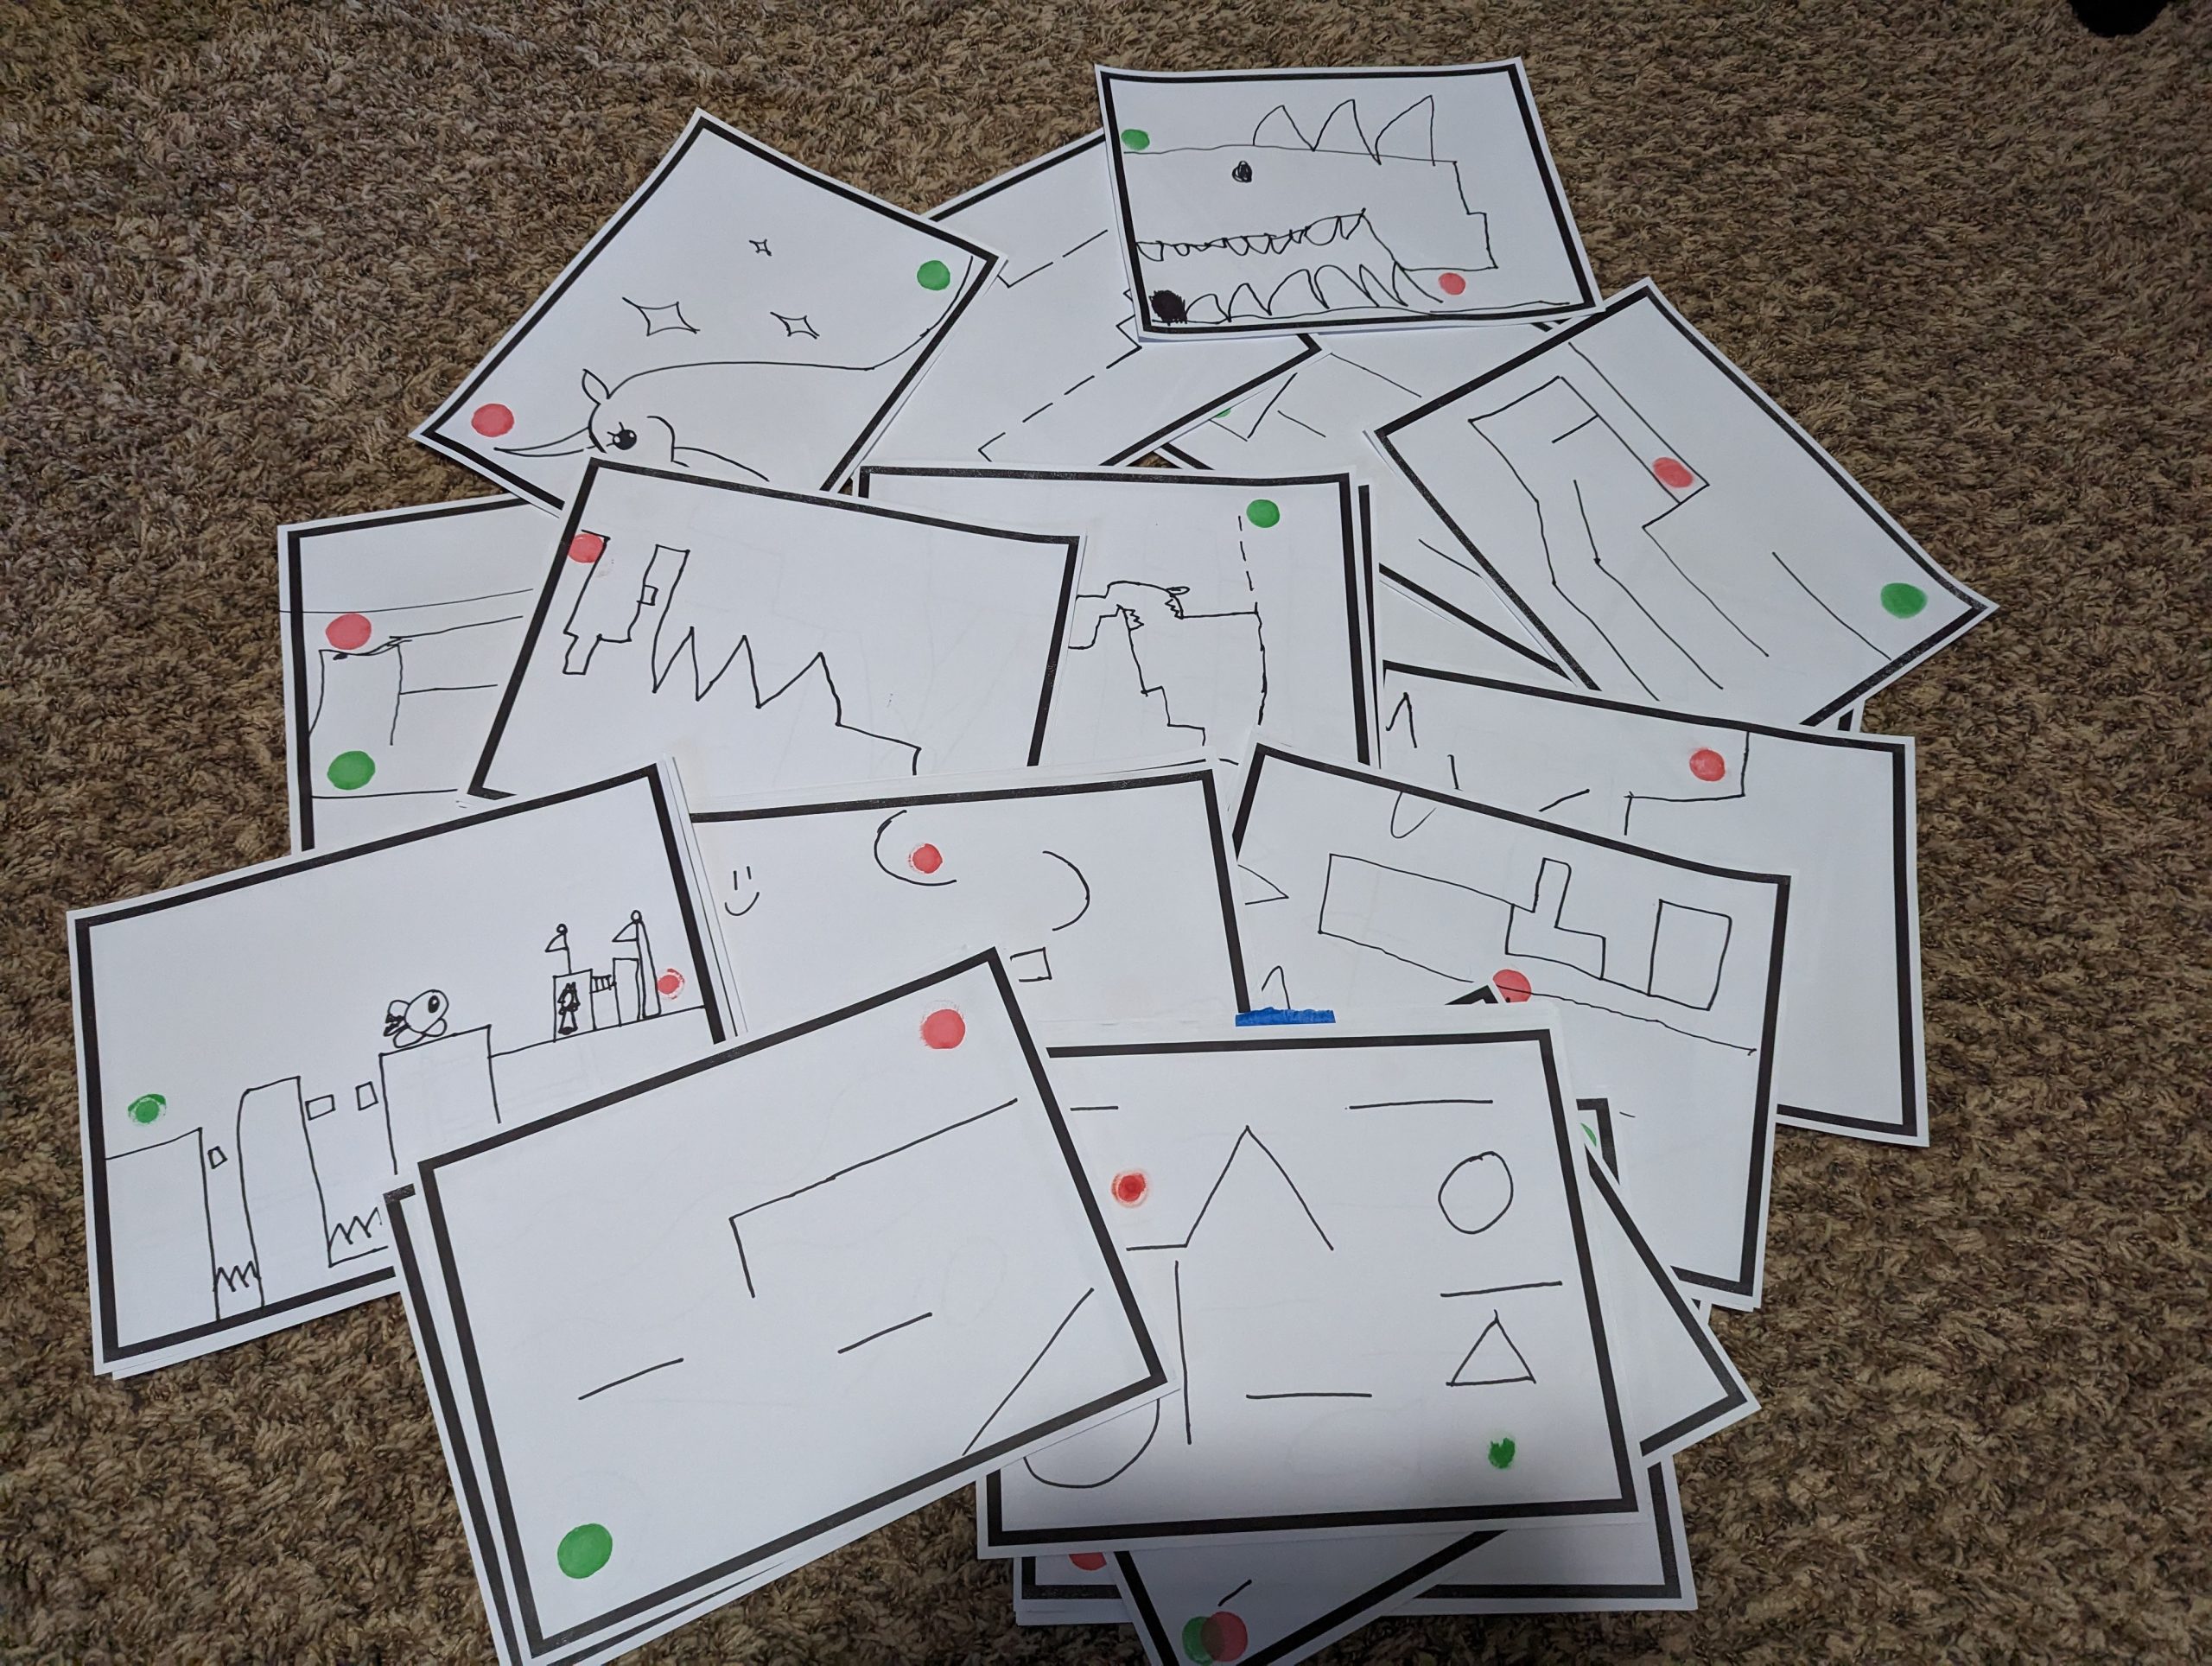
Draw Your Own Platformer is an game that empowers users to create their very own platformer levels through a unique blend of physical creativity and technology. By utilizing specific colors to represent distinct elements, players can draw their very own levels, and then proceed to play them!
Color-Coded Creativity:
- Black: Designate platforms, shaping the ground work of your level.
- Green: Mark the starting location, where your adventure begins.
- Red: Mark the goal, guiding players towards completion.
- Orange: Scatter collectibles throughout your level, collect them all to open the exit.
Hardware Components:
- Flatbed Scanner: Utilized for capturing hand-drawn level designs.
- Computer (Laptop/Desktop): Powers the game environment and image processing.
- Input Devices (Keyboard/Controller/Joystick): Enables user interaction with the game.
- Paper and Markers: Used for drawing level elements.
Software Components:
- Unity (C#): Serves as the game engine, managing gameplay and graphics.
- PyCharm (Python): Facilitates image processing and hardware control.
High Level Workflow Overview:
- Startup: Upon launching the program, users select their input method and scanner.
- Pre-Scan: The program checks a JSON file controlled by Unity to confirm if scanning is permitted, ensuring it aligns with the game state.
- Scanning: Users initiate the scan, which captures the hand-drawn level design. Python, through OpenCV and PIL, processes the scanned image.
- Image Processing: Python analyzes the scanned image, identifying specific colors (black, green, red, orange) to represent different level elements. These elements are then extracted and saved as individual images.
- Interpretation in Unity: Unity receives the processed images and interprets them to construct the game environment.
- Level Construction: Unity identifies boundaries, start, goal, and collectible positions based on the processed images. It creates corresponding game objects and assigns appropriate colliders for interaction detection.
- Gameplay: Players can now play the custom-designed level, with Unity managing player movements, collisions, and goal completion.
- Data Management: Upon completion, level data is saved to a JSON file, and associated images are organized for future use.
- Additional Features: Time limits, moderation options, and random level generation enhance gameplay variety and user experience.
In-depth Overview for Python and Unity
Python handles a significant portion of image processing and hardware control. Here are the key components:
- wia_scan: Controls scanners and manages the scanning process.
- numpy: Assists in handling arrays of pixel data used for image processing.
- PIL (Python Imaging Library): Used for basic image manipulation tasks such as opening and converting images.
- cv2 (OpenCV): Responsible for reading and manipulating image data, extracting color information, and manipulating images.
- pygame/Keyboard: Manages input controls for keyboard, controller, and joystick.
- json: Facilitates communication between Unity and the Python executable to manage game states and control locking mechanisms.
- Time: Used for timing purposes.
- OS: Handles file paths and file saving operations.
Upon executing the program, the user selects their input method and scanner. The program then listens for the specified input. Before scanning, it verifies if scanning is allowed by checking a boolean value stored in a JSON file controlled by Unity. This ensures scanning only occurs when the game is in the appropriate state.

The scanning and image processing phase involves using OpenCV to read pixel data, identify specific colors, and create individual images for each color category. These images undergo rotation, resizing, and conversion to PNG format with transparent backgrounds before being saved.


Below is a quick look at one of the functions that parses image data.
# Run the image through the filter function
black_result = get_gray_to_black_regions(os.path.join(script_dir, 'main_transparent.png'))
# Rotate the image
rotated_black_image = cv2.rotate(black_result, cv2.ROTATE_90_CLOCKWISE)
# Resize the image
resized_black_image = cv2.resize(rotated_black_image, (792, 612))
# Save out the image
cv2.imwrite(os.path.join(script_dir, 'black_image.png'), resized_black_image)

def get_gray_to_black_regions(this_image):
    # Step 1: Read the image using OpenCV
    img = cv2.imread(this_image, cv2.IMREAD_UNCHANGED)
    # Step 2: Extract the alpha channel
    alpha_channel = img[:, :, 3]
    # Step 3: Define the threshold range for gray to black
    lower_gray_to_black = np.array([0, 0, 0])
    upper_gray_to_black = np.array([150, 150, 150])
    # Step 4: Create a mask where gray to black pixels are white and everything else is black
    mask_gray_to_black = cv2.inRange(img[:, :, :3], lower_gray_to_black, upper_gray_to_black)
    # Step 5: Set non-gray to black pixels as transparent
    mask_non_gray_to_black = np.where(mask_gray_to_black == 0, 255, 0).astype(np.uint8)
    alpha_channel[mask_non_gray_to_black == 255] = 0
    # Step 6: Set all non-transparent pixels to black
    img[alpha_channel > 0] = [0, 0, 0, 255]
    return img
Unity
Unity handles game-related aspects, including GUI, character control, and additional image processing to build the level. Upon initiating a scan, Unity enters a scanning mode, awaiting completion. After the scan, it retrieves the created images and interprets them:
- The black image defines the level boundaries, with Unity creating a corresponding mesh for player movement. It does this by creating an array of pixels and once it is done looping through everything creates a Texture 2D and then applies a mesh over that shape.
- The green image marks the starting position, the red image denotes the goal, and orange images represent collectibles. Unity processes these images to determine their respective positions in the game world by getting the center vector 2 point of the visible pixels. instantiating objects accordingly. Colliders are added to collectibles and the goal for interaction detection.


Upon parsing all data, the player can start playing the created level. After completion, the level data is saved to a JSON file, and specific images are moved to a separate directory for later use. This data allows for the creation of random maps for users to play.
Additional functionalities include time limits, timeout mechanisms, and a moderation screen for managing user-generated content.
Third-party components used in Unity include Tarodev 2D controller for player movements and Advanced Polygon Collider for creating complex meshes from images.
While there’s much more to explore, I hope this overview provides a helpful starting point for those interested in creating similar interactive experiences. Feel free to reach out with any questions!
If you’re interested in trying it out or providing feedback, feel free to contact [email protected]. I’m working on polishing the game and plan to release it for download with full documentation in the next month or so.